This week I got a chance to spin up my own VMs on local hardware (I've lived in the cloud for years). Things went great with my little Ubuntu Server installation until I noticed I needed more disk space.
I didn't want to add another disk, but to increase the size of my current disk. Here's the process I followed. This tutorial assumes you are in ubuntu-server, using LVM, and unraid for VM management, but the instructions will be similar for any system.
Increase the size of the vdisk
Unraid made this super simple.
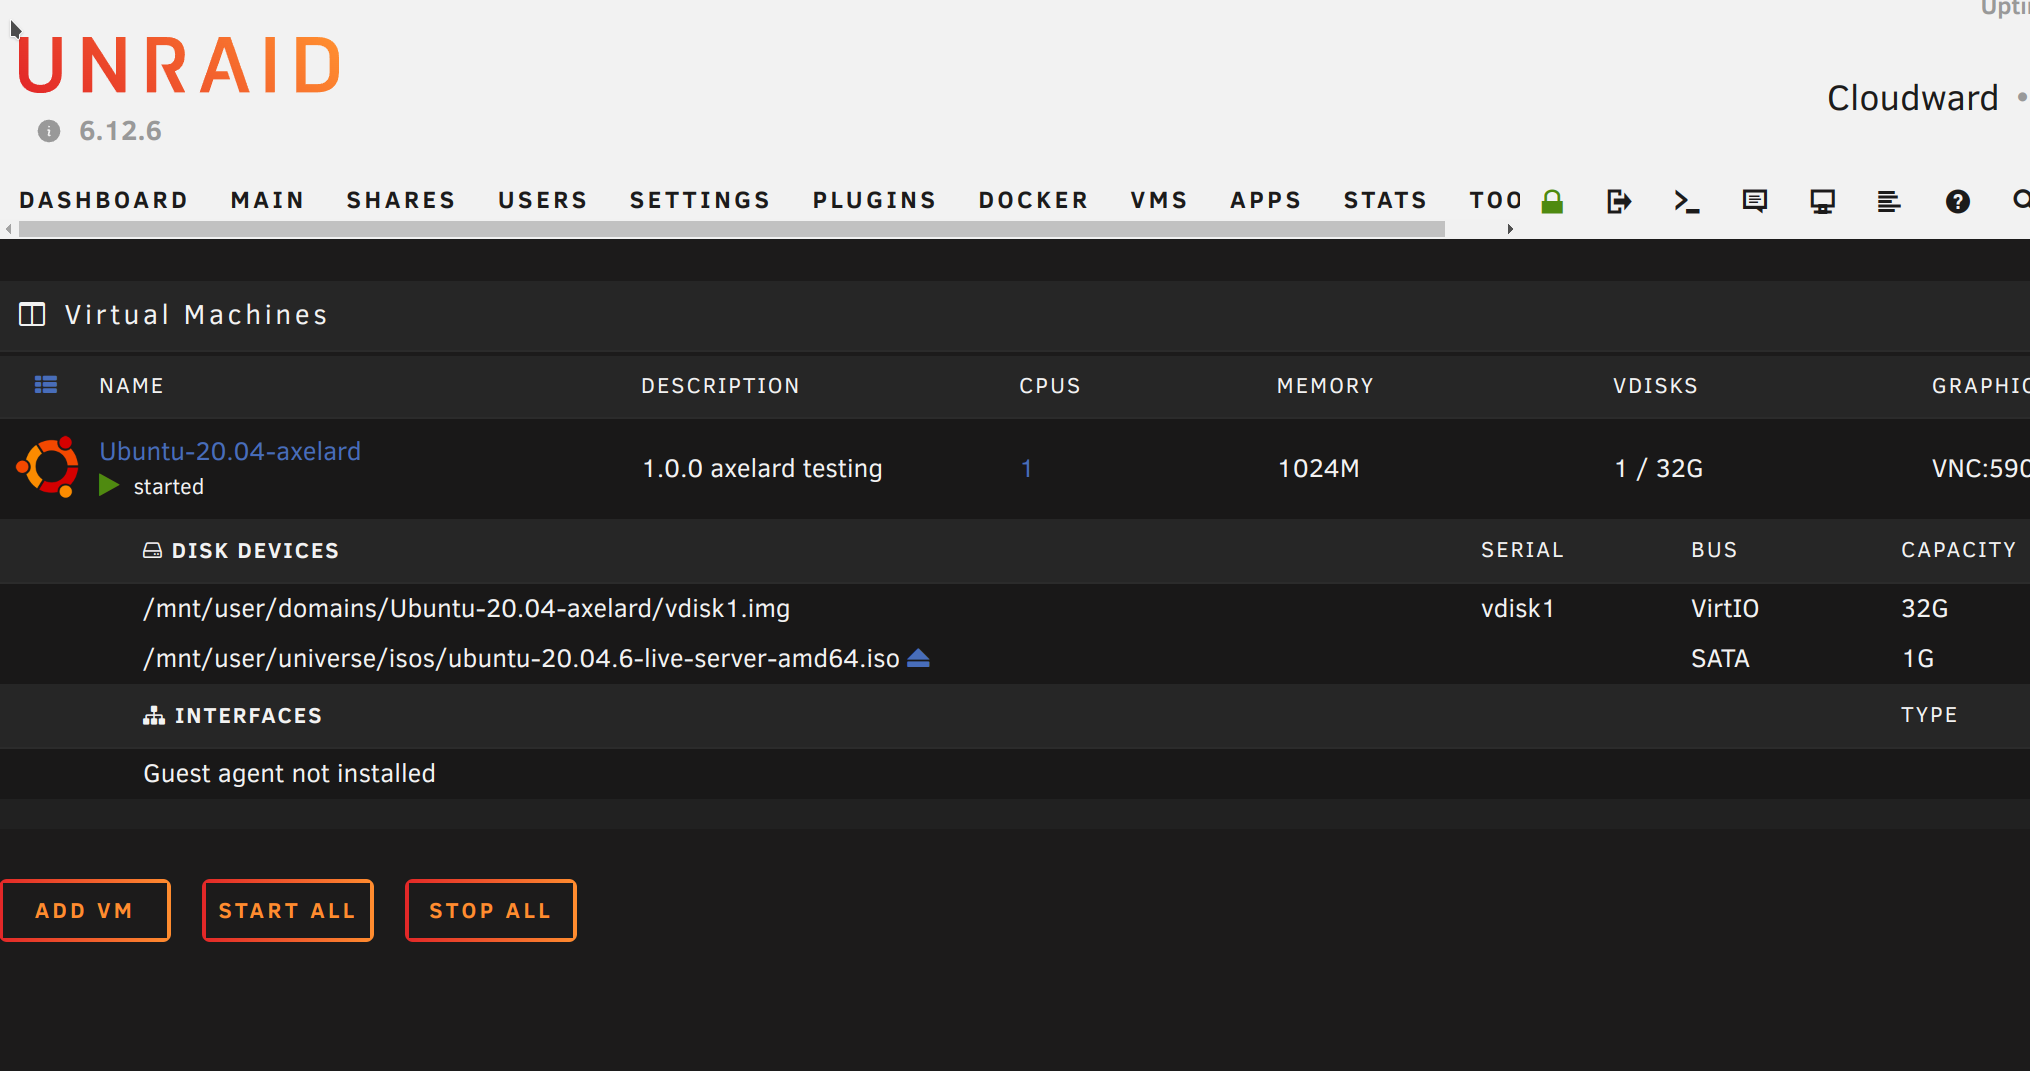
- Turn off the VM
- Click on the VM to see the attache disks
- Enter a new size for the vdisk
- Save!
Taking advantage of the new size
While now my disk was bigger, which was confirmed with fdisk -l, my system wasn't taking advantage of it. I needed to do 3 things.
Increase the partition size
Doing this with fdisk was super easy, but a little bit scary.
- Run fdisk on your vdisk (mine is
/dev/vda) - Delete the partition (if it's the last partition, this won't delete any data)
- Create a new partition at the same index (mine is
3)using all available space (this was default) - Don't remove any signatures
- check your work with
print wto write the changes to disk.
With that, my partition table represented and took advantage of the new disk size.
Here's the full session from fdisk:
sudo fdisk /dev/vda

Welcome to fdisk (util-linux 2.34).
Changes will remain in memory only, until you decide to write them.
Be careful before using the write command.

GPT PMBR size mismatch (16777215 != 67108863) will be corrected by write.
The backup GPT table is not on the end of the device. This problem will be corrected by write.

Command (m for help): d
Partition number (1-3, default 3): 3

Partition 3 has been deleted.

Command (m for help): n
Partition number (3-128, default 3):
First sector (4773888-67108830, default 4773888):
Last sector, +/-sectors or +/-size{K,M,G,T,P} (4773888-67108830, default 67108830):

Created a new partition 3 of type 'Linux filesystem' and of size 29.7 GiB.
Partition #3 contains a LVM2_member signature.

Do you want to remove the signature? [Y]es/[N]o: n

Command (m for help): print

Disk /dev/vda: 32 GiB, 34359738368 bytes, 67108864 sectors
Units: sectors of 1 * 512 = 512 bytes
Sector size (logical/physical): 512 bytes / 512 bytes
I/O size (minimum/optimal): 512 bytes / 512 bytes
Disklabel type: gpt
Disk identifier: 56AB46C6-3A7C-439E-8F60-25FAC21D5A45

Device       Start      End  Sectors  Size Type
/dev/vda1     2048  1103871  1101824  538M EFI System
/dev/vda2  1103872  4773887  3670016  1.8G Linux filesystem
/dev/vda3  4773888 67108830 62334943 29.7G Linux filesystem

Command (m for help): w
The partition table has been altered.
Syncing disks.
Increase your physical volume size with LVM
This one was as simple as sudo pvresize /dev/vda3.
This resulted in:
Archiving volume group "ubuntu-vg" metadata (seqno 7).
 Resizing volume "/dev/vda3" to 62334943 sectors.
 Resizing physical volume /dev/vda3 from 1464 to 7608 extents.
 Updating physical volume "/dev/vda3"
 Creating volume group backup "/etc/lvm/backup/ubuntu-vg" (seqno 8).
 Physical volume "/dev/vda3" changed
 1 physical volume(s) resized or updated / 0 physical volume(s) not resized
Increase your logical volume size
First, get the location of your volume with ls /dev/mapper/ and look for the matching volume that you see with sudo lvs.
Then extend it with:
sudo lvextend -l +100%FREE /dev/mapper/ubuntu--vg-ubuntu--lv
This output:
ents).
 Logical volume ubuntu-vg/ubuntu-lv successfully resized.
Resize your ext4 filesystem
Using the same node in /dev/mapper/:
sudo resize2fs /dev/mapper/ubuntu--vg-ubuntu--lv
Which output:
resize2fs 1.45.5 (07-Jan-2020)
Filesystem at /dev/mapper/ubuntu--vg-ubuntu--lv is mounted on /; on-line resizing required
old_desc_blocks = 1, new_desc_blocks = 4
The filesystem on /dev/mapper/ubuntu--vg-ubuntu--lv is now 7790592 (4k) blocks long.
Summary
With that, you can now use your expanded filesystem to your heart's content!